Pickling Vegetables Made Easy: A Beginner's Guide
Pickling is a fantastic way to preserve the bounty of your garden or the fresh produce from the market. It adds a tangy, flavorful kick to meals and allows you to enjoy seasonal vegetables long after their peak. This guide provides the basic steps to get you started with vinegar-based pickling, perfect for cucumbers, carrots, onions, green beans, cauliflower, radishes, peppers, and more!
What You Need (Ingredients & Equipment)
Ingredients
Vegetables
Choose fresh, firm, and blemish-free vegetables. Popular choices include:
- Cucumbers (pickling varieties are best)
- Carrots
- Cauliflower florets
- Green beans
- Pearl onions
- Radishes
- Bell peppers
- Zucchini
- Beets
Basic Pickling Ingredients
- Vinegar: Use vinegar with at least 5% acidity. Distilled white vinegar provides a clear brine and neutral flavor. Apple cider vinegar adds a slightly fruity note.
- Water: Filtered or distilled water is recommended to avoid potential cloudiness from minerals in tap water.
- Salt: Use pickling salt, kosher salt, or pure sea salt. Avoid iodized table salt.
- Sugar (Optional): Adds sweetness to balance the vinegar’s tartness.
Optional Flavorings (Recommended)
- Fresh dill sprigs
- Garlic cloves (peeled, whole or sliced)
- Mustard seeds (yellow or brown)
- Black peppercorns
- Bay leaves
- Red pepper flakes (for heat)
- Coriander seeds
- Celery seeds
- Sliced ginger or turmeric
Equipment Needed
- Clean glass jars with lids (Mason jars with two-part lids are ideal)
- A large pot (for sterilizing jars and making brine)
- A smaller pot (for simmering lids)
- Knife and cutting board
- Measuring cups and spoons
- Jar lifter, funnel, and headspace tool/bubble remover (optional but helpful)
The Basic Pickling Process (Quick Refrigerator Pickles)
This method creates pickles that must be stored in the refrigerator and consumed within a few weeks to a couple of months.
1. Prepare the Vegetables
- Wash vegetables thoroughly under cold running water
- Trim ends, peel if necessary
- Cut into desired shapes – spears, rounds, florets, or whole
- Ensure pieces are uniform in size for even pickling
2. Sterilize Jars and Lids
- Wash jars, lids, and bands in hot, soapy water
- Rinse well
- Place jars upright in the large pot
- Cover with water and bring to a boil
- Boil for 10 minutes
- Keep jars hot until ready to fill
3. Make the Pickling Brine
- Combine vinegar, water, salt, and sugar (if using)
- Common ratio: 1:1 vinegar to water
- Salt: 1-3 tablespoons per quart of brine
- Heat over medium heat
- Stir until salt and sugar dissolve
- Bring to a boil, then reduce heat
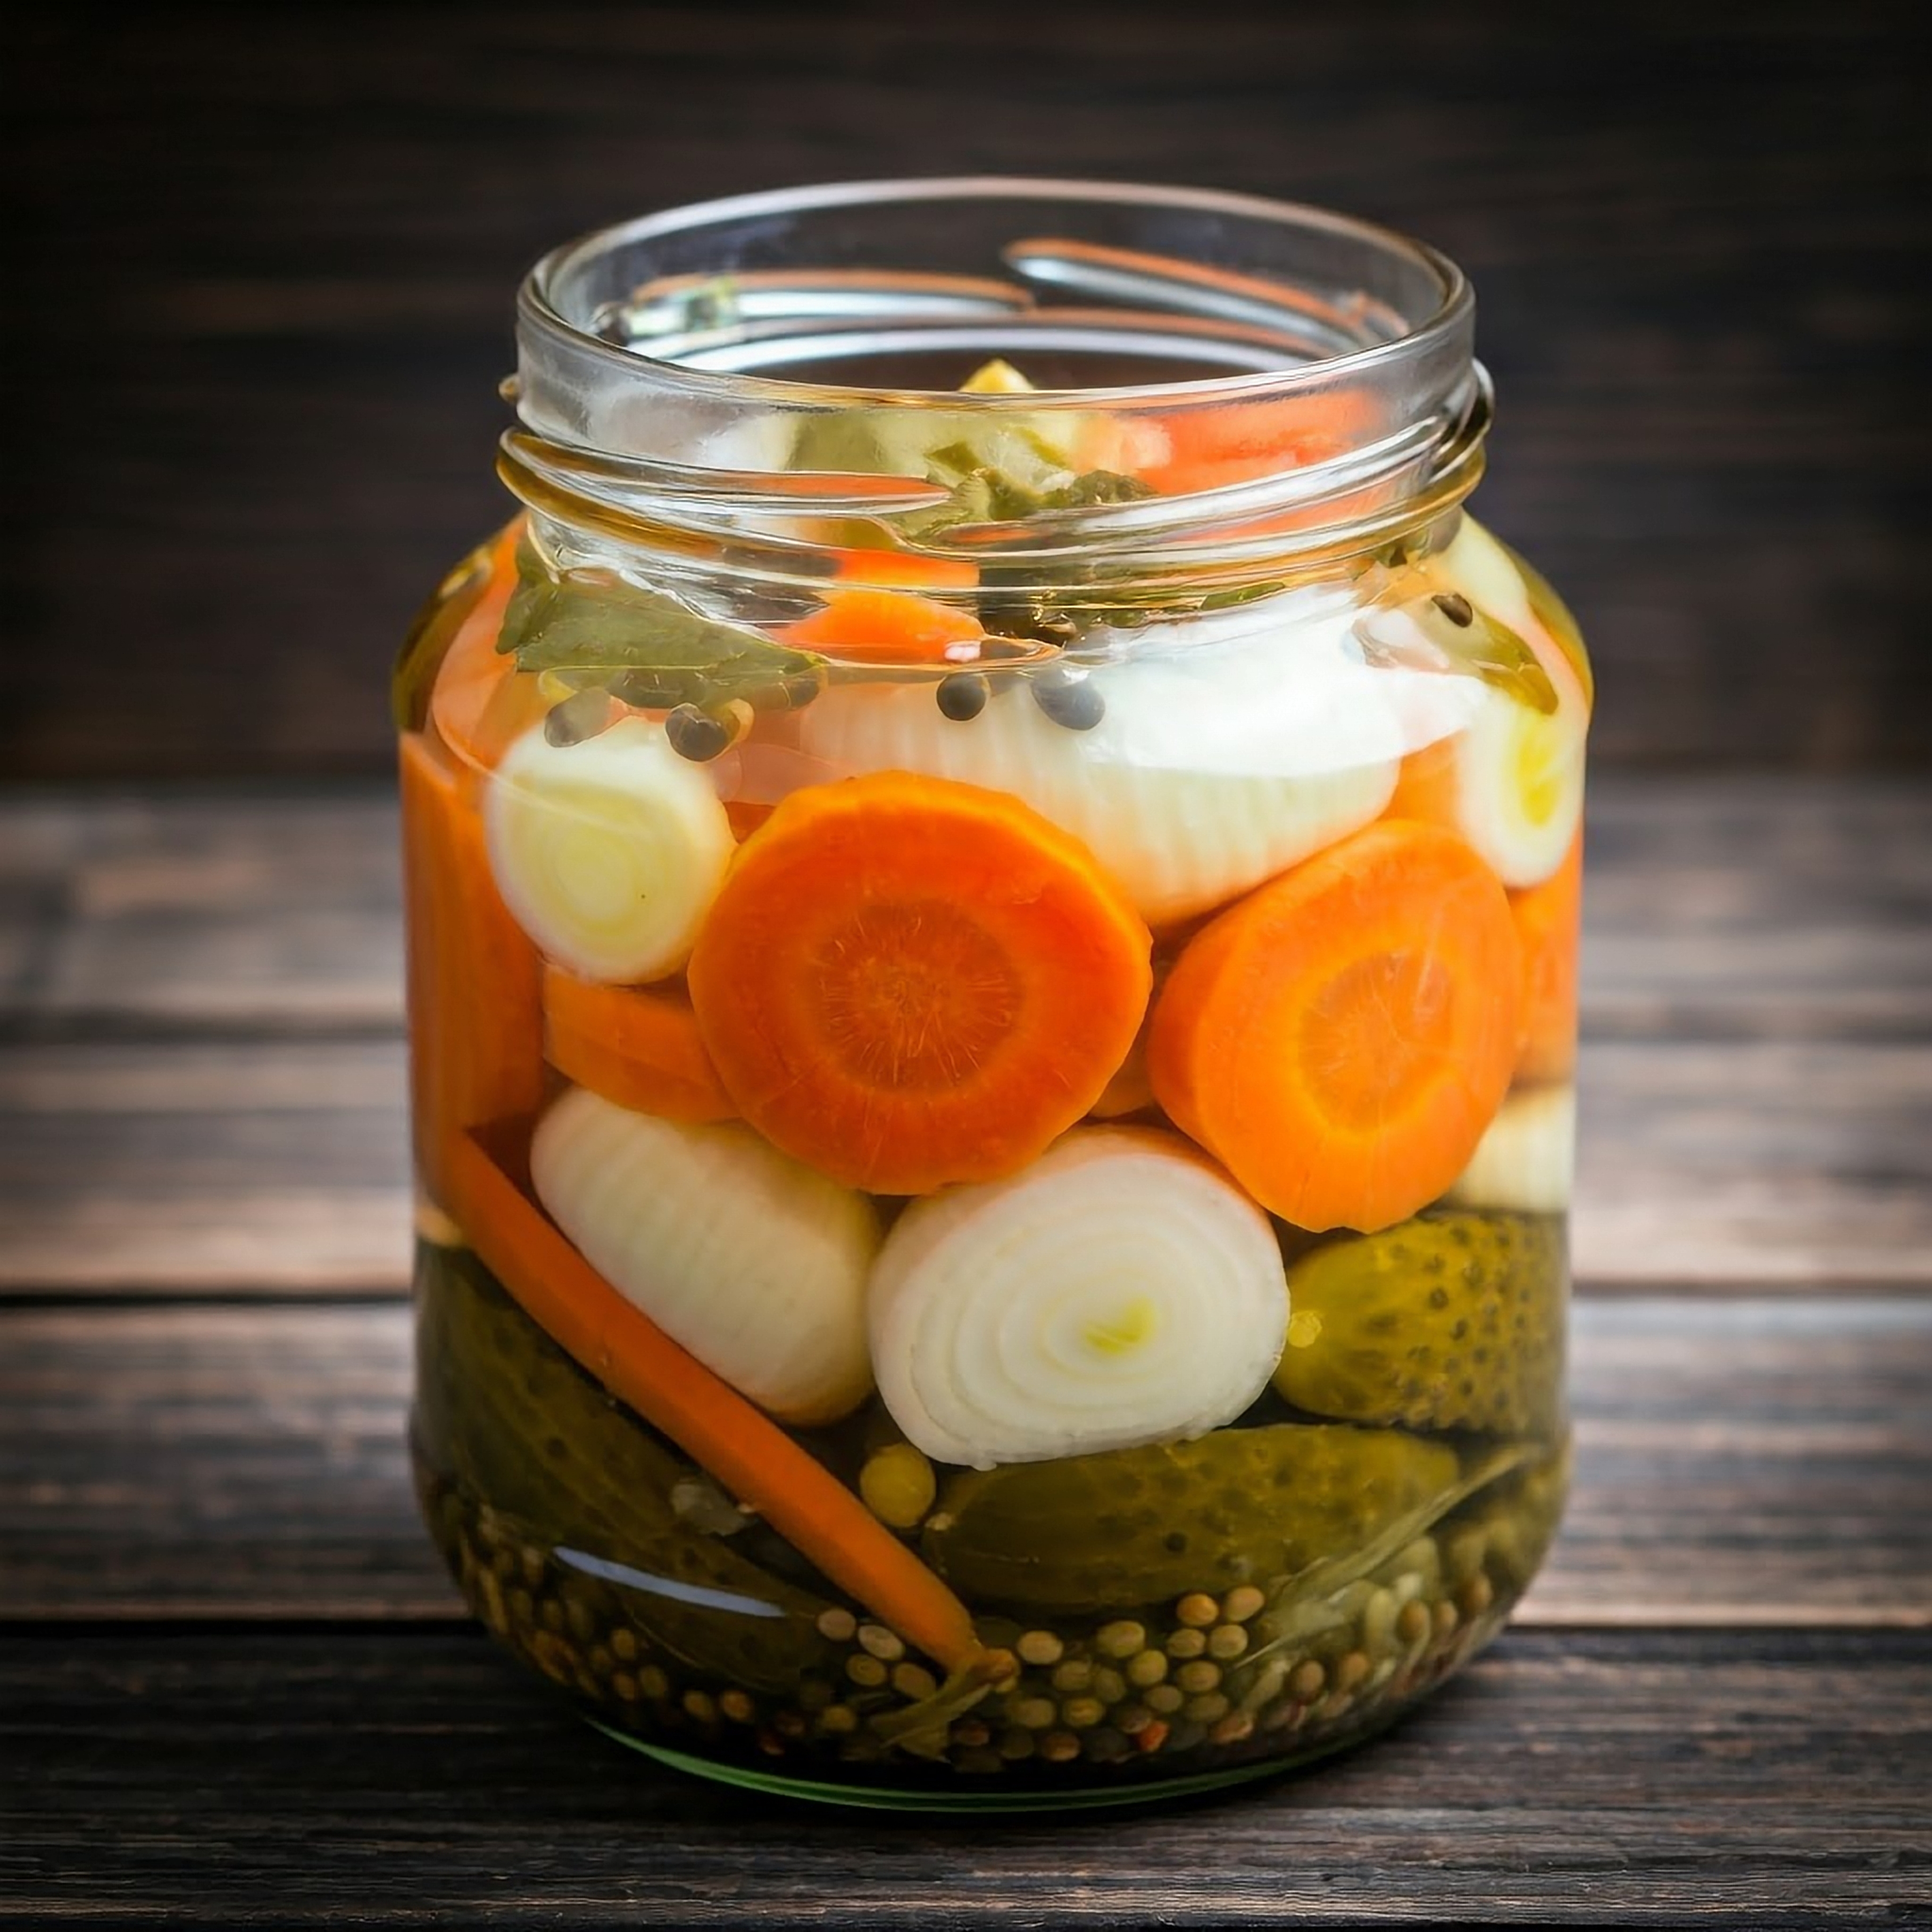
4. Pack the Jars
- Remove hot jar from water bath
- Add flavorings to the bottom
- Pack vegetables firmly but don’t crush
- Leave 1/2 inch (1-1.5 cm) headspace
5. Fill with Brine
- Pour hot brine over vegetables
- Ensure vegetables are completely submerged
- Maintain headspace
6. Remove Air Bubbles & Seal
- Release trapped air bubbles
- Adjust brine level if needed
- Wipe jar rim clean
- Center lid and screw on band until “fingertip-tight”
7. Cool and Store
- Let jars cool completely (12-24 hours)
- Tighten bands
- Store in refrigerator
8. Wait and Enjoy
- Best flavor develops after 1-2 weeks
- Consume within a few weeks to months
- Always check for spoilage before eating
Important Note
For long-term, shelf-stable storage at room temperature, pickles must be processed using a boiling water bath canner according to tested recipes and procedures. This guide focuses on refrigerator pickles. Always consult reliable canning resources for safe canning instructions.